
Soloing a Student Pilot. Tips From a CFI
We all remember our first solo as if it was yesterday (even if it was 20 years ago). The fear, excitement, and overwhelming feeling of accomplishment when you make that final solo landing. I’ll write about my own solo in another blog, but I want to talk about how it felt to be the endorsing CFI for my first solo student and to offer some helpful tips for you new instructors (and students).
At the part 141 school that I teach at, students don’t solo until nearly the end of their training program. Many have negative opinions of this practice, but rules are rules and I don’t mind the extra time to prepare my students for our busy class C airport environment. When I first started working as a CFI (part 61 school at the time), my chief would endorse most of the students for their solos. I was okay with this practice since it afforded me some protection from potential negative marks on my certificate, in the event that something went wrong. But once I started at my new school, that would ultimately change.

Do I like soloing students?
The answer is both yes and no. It is as rewarding to the instructor when a student solos as it is for the student. It is also scary as hell! When you as a student solo, you feel in control. You have been well prepared (see tips below) and you knew how you felt (mentally and physically). I, as an instructor, can’t get into the student’s head (as much as the student may say otherwise). Maybe the student is pressured by their company to “finish up”, perhaps their roommate soloed the previous day and they don’t want to look bad. Maybe he or she has a camera crew ready to celebrate their solo when they return, or maybe they were so excited that they didn’t sleep last night. Whatever it is, as a CFI, I can’t always tell.
The Day Of the Solo
Before I solo any student, I’ll sit in the airplane and brief him / her. I might say, “You are the pilot in command today, I’m just going along for the ride, show me what you’ve got!” From that point on, I don’t say a word. Did the student mess up on the radio and misread a clearance? Figure it out. Have a bad MAG check? Figure it out. Airspeed fails on takeoff (happened twice)? Figure it out. Bad touchdown or approach? Go around.
Point is, if I help, I’m putting their life at risk when I finally get out of the airplane.
My standard practice is to have the student make one normal landing on a spot (500′ markers on 9R or 27L at SFB) I wont say a thing. I cross my legs and my arms so I wont “help”. I won’t even point out traffic unless it’s a safety issue (and then the solo is in serious doubt). I’m not looking for perfect landings. I’m looking for: 1. On the mains, 2. On the center line 3. No drift left or right and finally 4. Aligned with the runway. Then it’s time to bring the airplane to a stop. I learned early on, NEVER HELP WITH STOPPING THE AIRPLANE (unless you are about to exit the runway into the grass). This is where we see most of our incidents during solo operations. Runway excursions, or in other words, demolition derby, airplane addition!
The next landing will have a twist. On upwind, I’ll request a short approach, or if the pattern is empty, I’ll ask for it at the last moment while on downwind (the only time I make a radio call). Then I’ll chop the power. I won’t say a thing, instead I’ll wait for the student’s reaction. Made a good landing? They are one landing away from solo. Totally mess it up (diving for the runway etc.) and we need to talk. Come up short? Now what? The student better say “I’ll land here sir.” I’ll always save the last landing as a “normal” landing. I don’t want the student flying a pattern that won’t work on his / her solo.
Good approaches make good landings!
We’ve all heard something to this effect, and there’s a reason. It’s as true as the word of God himself. Cross the numbers in a Cessna just a few knots fast and you’ll find yourself floating past your touchdown point by a mile. Worse yet, if you focus on your spot, you’ll drive that nose wheel into the ground followed by a high bounce as your 30+ year old training airplane screams OUCH! At this point THE STUDENT MUST GO AROUND! Make sure your student understands that he / she will be flying a lighter airplane without your fat butt aboard. 65 knots in a Cessna 172 on a solo is just too fast. 60 is better. 55 is too slow. My students don’t solo unless they can master airspeed control, but how do I teach this?
Teaching stabilized approaches
From the abeam point until you are on final, it’s all pretty much procedure (unless SFB tower has you extend your downwind miles away). Power 1500 RPM, Speed below 110, flaps 10, trim two turns nose up, speed 85, 45 degree point, turn base, speed check below 85, flaps 20, speed 75, speed 70, turning final.. Now what? When I first started teaching I’d say “pitch for airspeed, power for altitude”. The statement is still true, but I found my students pitching up and down chasing the airspeed on final. What I’ve found works better is to teach them to “fly to the numbers.” “Focus on the runway numbers and keep them in the same spot”. This results in a stable approach. When I teach it, I normally fly and talk. “I’m looking at the numbers, now I’m glancing at my speed, back to the numbers.” The final 100 feet should be by feel. No more looking inside. Everything is OUTSIDE. “Eyes outside!”
The landing
Now that you are approaching the numbers, shift your focus down the runway. Not all the way down, just about 1000 – 2000 feet. If you look too far out, you’ll round out high, if you look too close, you’ll fly it into the runway. Now let’s “try not to land”. Retard the power “little power”. Eyes OUTSIDE. “Wide vision (peripheral) for height above the runway.” Rudder to point the airplane down the runway, yoke to stay there. “Hold it off. Hold it. More, more, and, touchdown!” IT ISN’T OVER! “Yoke back, back, back, back, Breaks….. Rudder. Breaks. Almost stopped, now, turn. NEVER let anyone rush you. Eyes outside!” Check out this article from Bold Method on the subject.
Before I leave my students on their own, I remind them with the same word repeated three times. “SAFETY, SAFETY, SAFETY.” Nothing else matters!
Now it’s time. If you’re like me, this is a good time to breathe and say a little prayer. Off they go! Make sure they know: “If you have a problem on the takeoff, you have one call to make, ‘am I flying or aborting?”’ Nothing else. I once had a guy almost take out the glide-slope antenna when his window popped open on his first solo. He never made that mistake again. He actually turned out to be one of my best solo students.

Monitor the flight, especially the wind. I had one guy get caught in a strong crosswind right after his last takeoff. Three go-arounds later, he came in for a perfect crosswind landing. When I asked, “why did you go around so many times? The approach looked great.” He responded, “Sir, you said that I must be on the center line, I was a little off.” This from the guy who would argue with me that his landing was perfect as he nearly cut the grass! I love it when a student learns the importance of what we teach.
Student Tips:
- Are you scared? “Great! That will keep you safe. Just don’t let it overwhelm you. Just keep telling yourself, you know what you are doing.”
- The center line is safety. Treat it like a high wire. Stay on the wire!
- The approach should resemble a train on a track. Stay on that track all the way to the runway.
- If anything looks bad, go around! Don’t worry about anything except safety.
Instructor Tips:
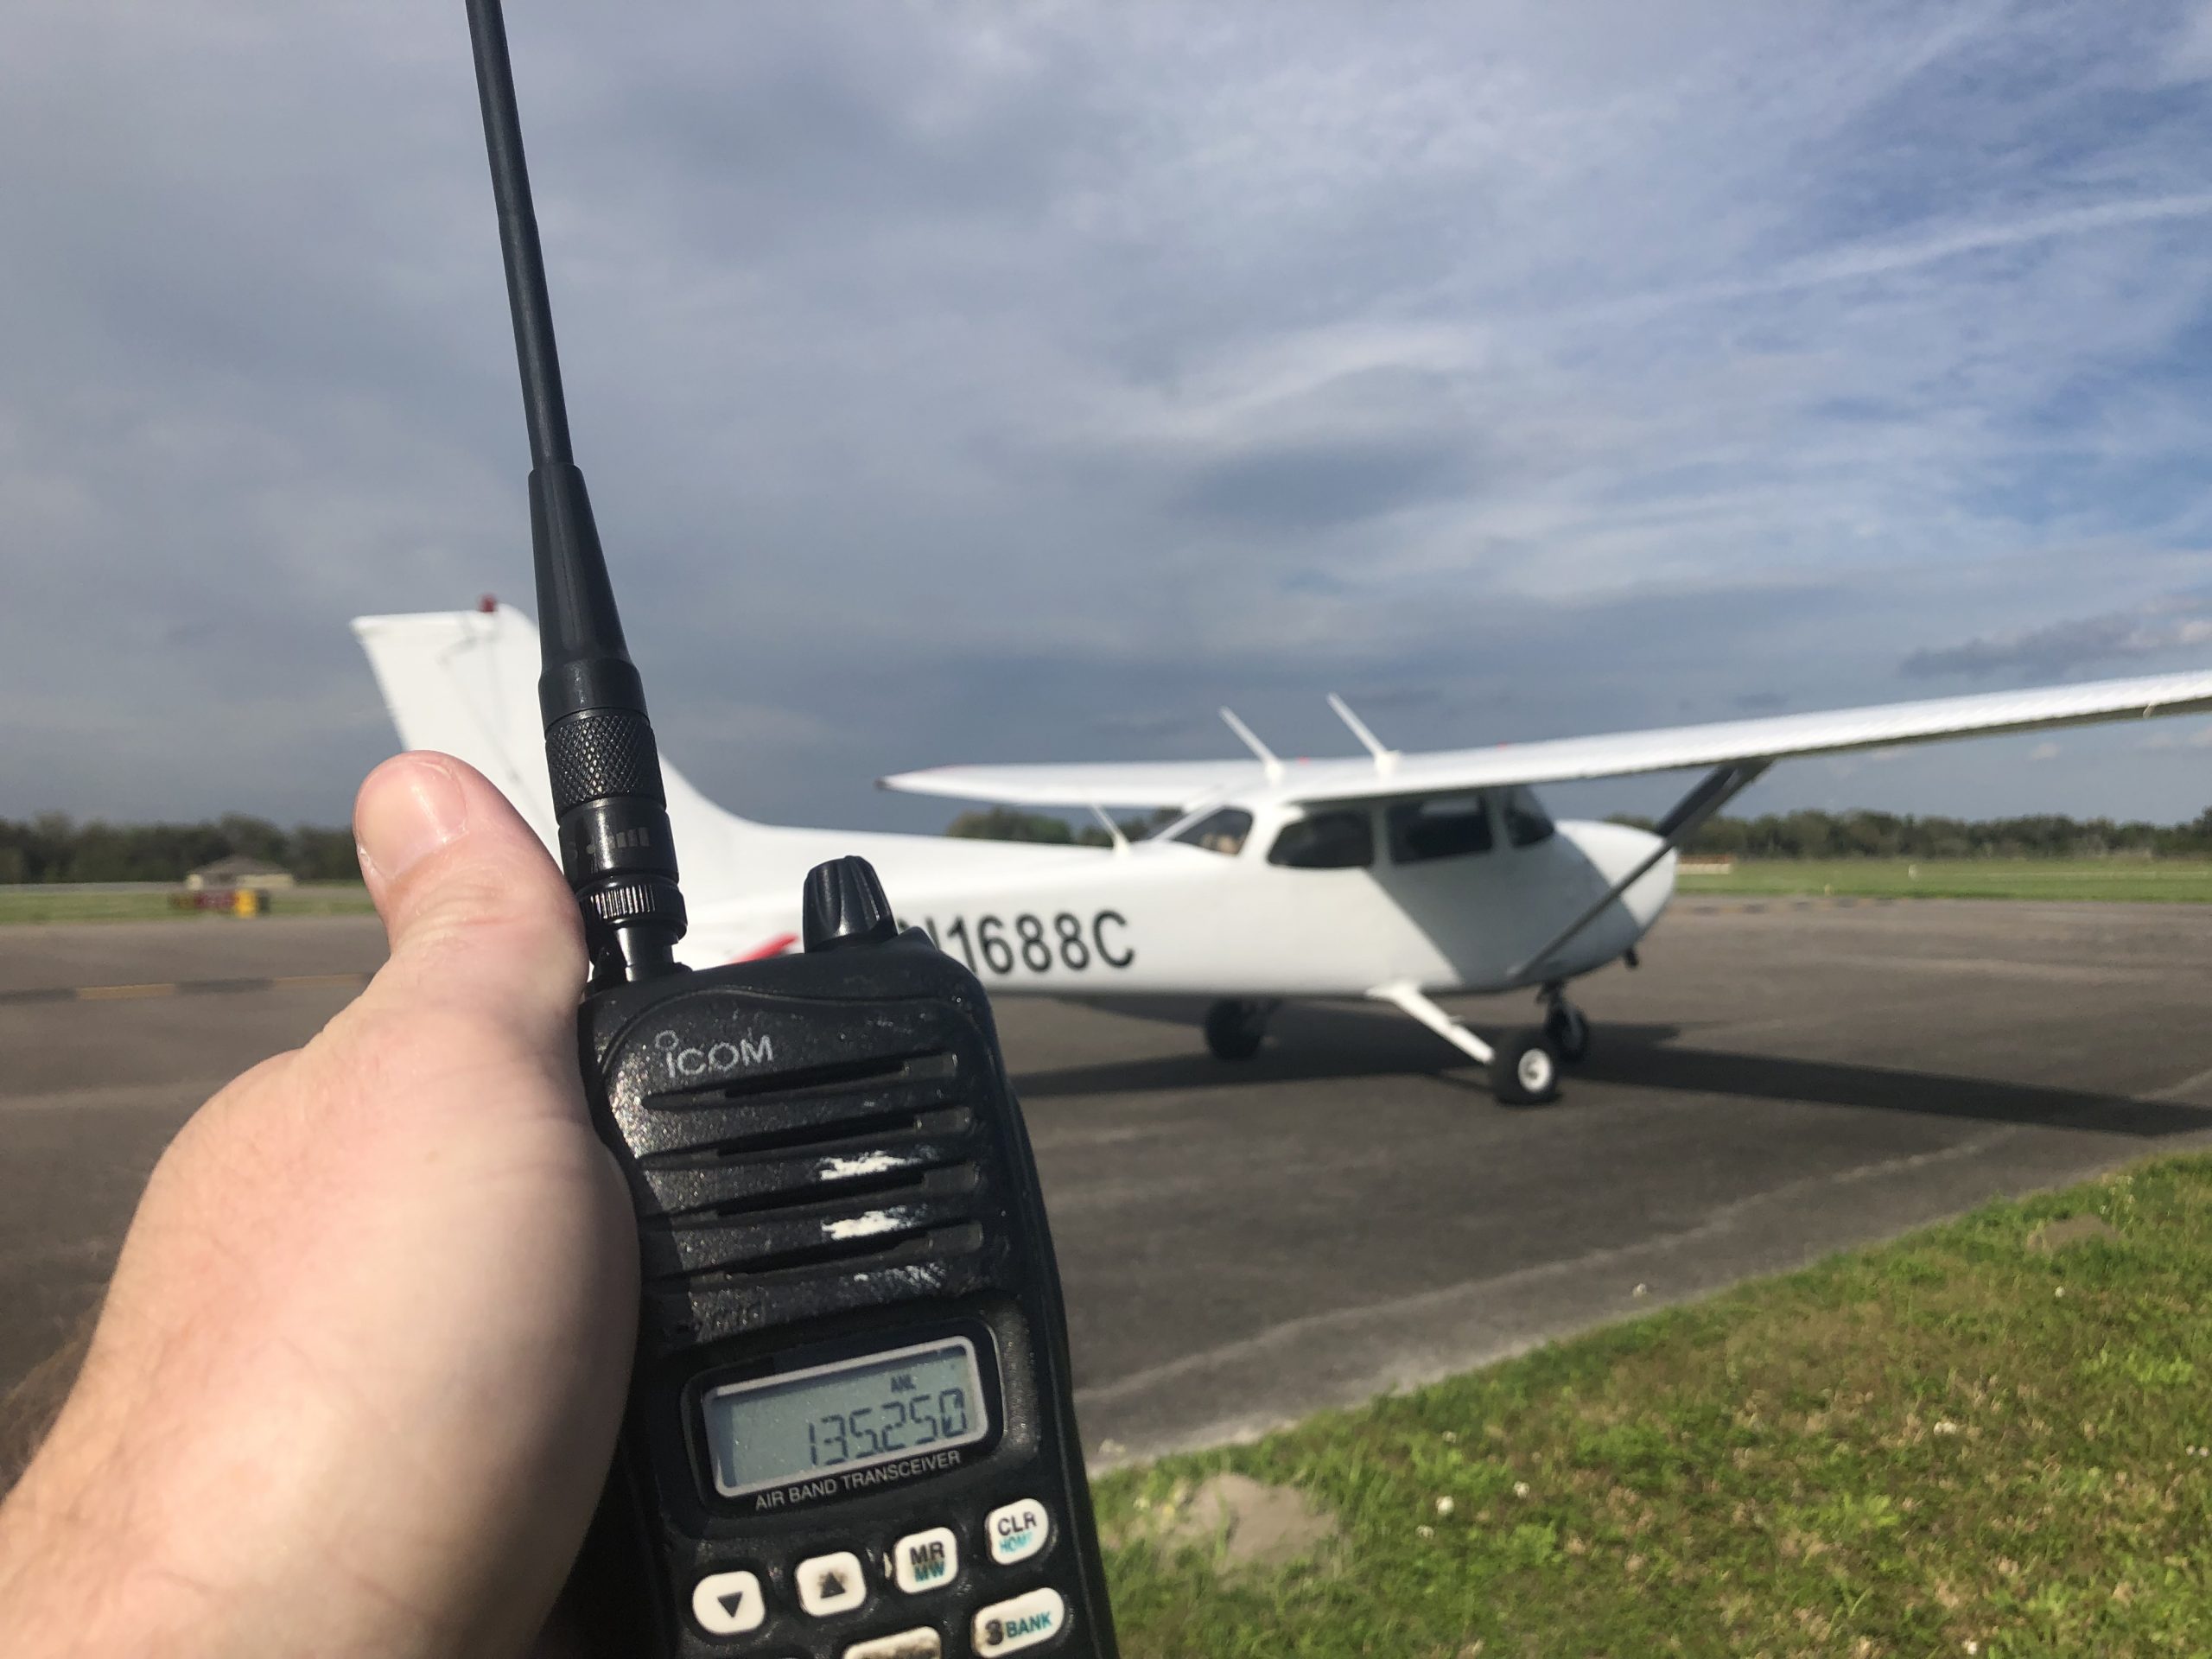
- Use a handheld radio to follow them. If they are making radio mistakes, it may be a sign of stress and you might want to end the solo.
- If needed, take a second to give your student some tips after each lap in the pattern. Otherwise, a thumbs up will do! I walk up to the airplane (safely) and talk to them. “Remember, patience with the landing.”
- Make sure to give them praise. “How was that landing?” “Sir, it was hard!” “Yes, but you stayed on the center line and kept flying it all the way to a stop. Next time, just give it more time to settle in, remember, don’t land.”
- Admire the Cessna 172. That airplane can really take beating and keep on going! She is amazing.
Pre-solo checklist. Ask yourself:
- Can my student make a go/no-go call (winds above their limits etc.)?
- Can my student tell me where other traffic in the pattern is at any time?
- Can my student fly a stabilized approach?
- Can my student correct for wind drift (in the pattern and on landing)?
- Can my student land on the mains, every time?
- Can my student keep the airplane on the center-line?
- Can my student tell me what he / she will do if the engine quits after takeoff and beyond the runway? Ask this while you are flying. “BANG engine failure, where are we going?” He / She better not say, “back to the airport” while 200′ AGL!
- Communicate with ATC without your help.
- You’ve endorsed them and made copies of EVERYTHING.
Soloing a student can be one of the most rewarding things you will do as an instructor, but only if done safely. Remember to take your time and be prepared to unsat a solo attempt if things don’t go well. Explain to the student that it just isn’t their day to solo. Heck, blame it on the weather if you have to. There is no better feeling than watching your student apply the knowledge you’ve given them when it really counts- when you aren’t there to do it for them!
Fly safe!


Pingback: Surviving and Thriving on Your First Solo Flight